This post is sponsored by Shades of Light; all views are my own.
How to install a bathroom light fixture - it’s a phrase I googled several times after we purchased our desert house. After all. Lekker House JT is the first home that either my husband or I have ever owned. What that amounts to is neither of us ever having to deal with a huge amount of home maintenance, or choosing fixtures and finishes that match our taste. But I figured how hard could installing a new bathroom light fixture really be?
The house had recently been renovated when we purchased it, but let’s just say despite being brand new, nothing about the home was stylish. The home was a collection of sale items from Home Depot. Functional, yes. Appealing to live in and look at, not really.
Lekker House JT bathroom “before”
One of the most glaring design objections I had was the bathroom light fixture - i mean it extended into the shower for goodness sake. All along our goal has been to elevate this desert cabin with modern aesthetic that still respected the home’s vintage heritage. To do that I knew I needed a black fixture, and one much more compact and streamlined - two lights. And I was going to install it myself.
Finding The Right Light Fixture
First off, it was all about finding modern take on traditional a fixture silhouette. I didn’t love what I was seeing at all the same old clearing houses online. I knew I found the one when when I stumbled across a fixture offered exclusively by Virginia-based Shades of Light, which offers unique, high-style lighting. The Young House Love Bubble Vanity Light in bronze and brass was the perfect marriage of vintage style and modern update. And I love that this fixture isn’t one I’ve already seen in every magazine or Instagram post - Shades of Light is the exclusive retailer for the line from DIY husband and wife duo Young House Love. Working with Shades of Light was easy, and the fixture arrived just a few days later….in time for me to install my first ever light fixture.
How Not To Electrocute Yourself
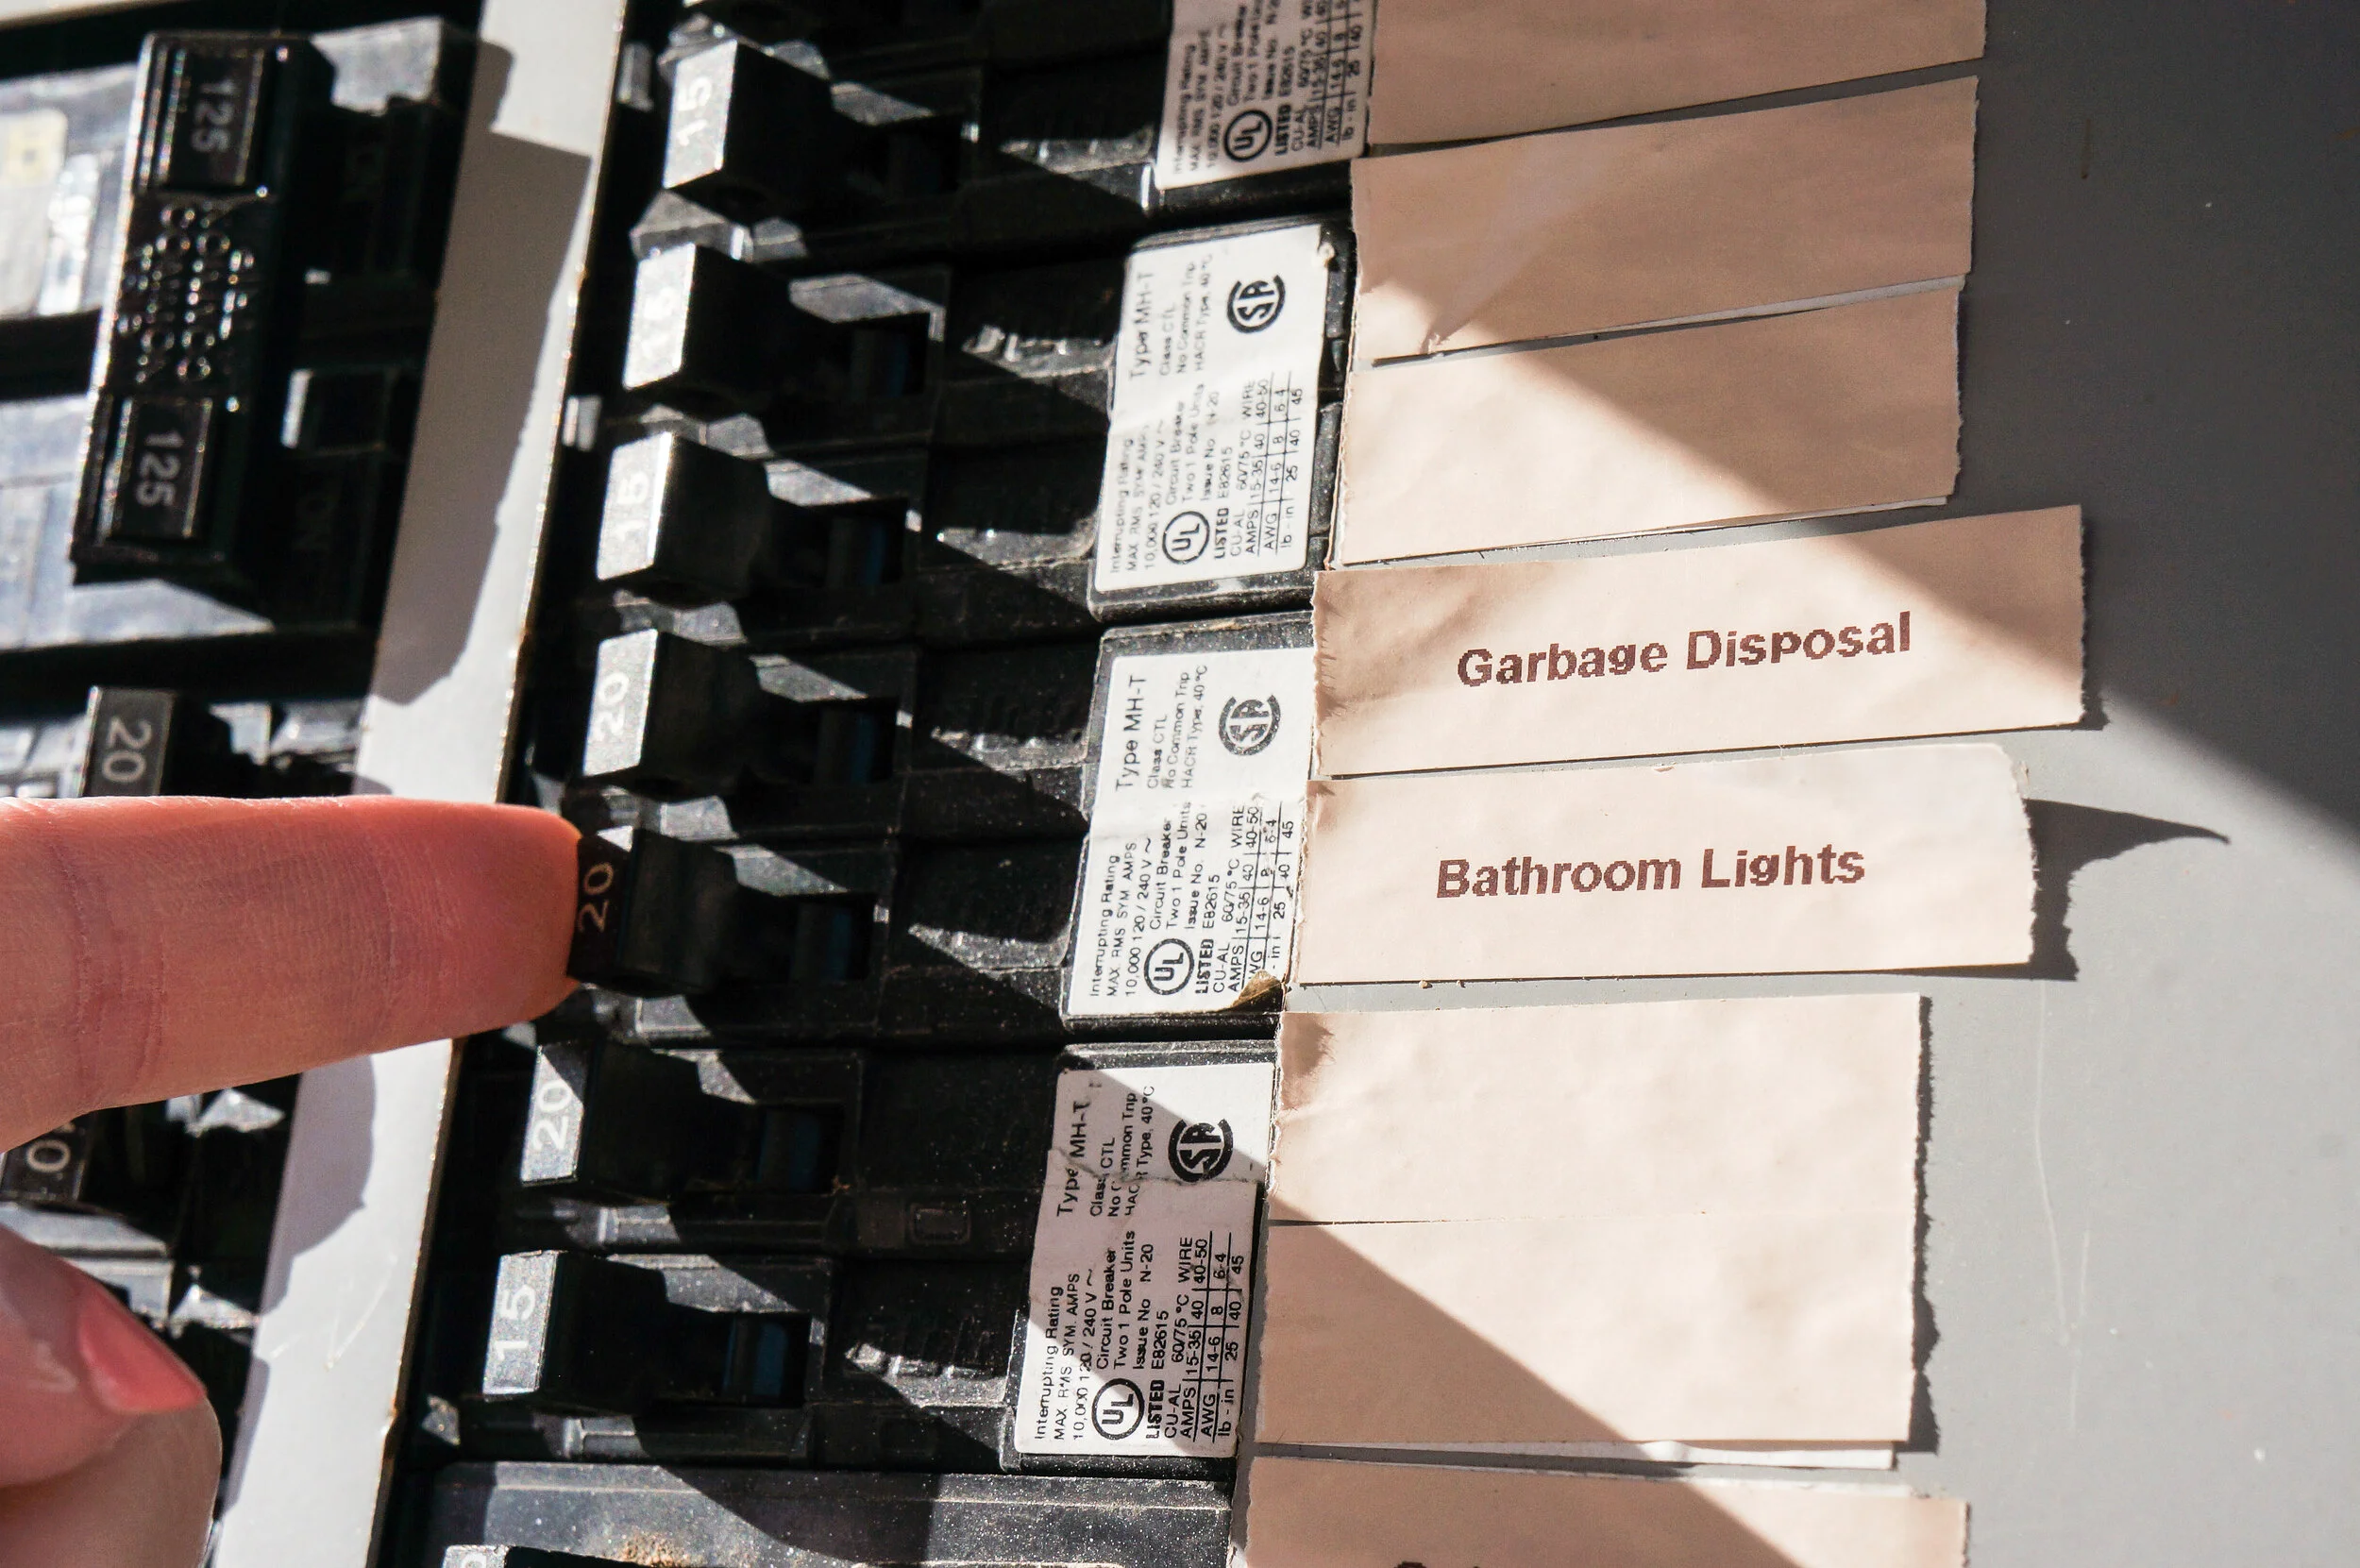
Over the years my friends gave me the nickname Marni Villa as (as in Bob Villa). But let’s be real, while I’m flattered my friends think I’m so handy, I’m not really that handy, I just have a blind confidence (probably owed to naïveté) that I can easily install things like wallpaper, new shelving - and now do some light electrical work. Step 1: Obviously my first goal was not to electrocute myself. Check. To ensure that I switched off the breaker to the bathroom electrical. Neatly labeling all the switches in the electrical panel can make things easier and avoid a lot of trial and error in finding the right one.
How To Make Sure it Turns On
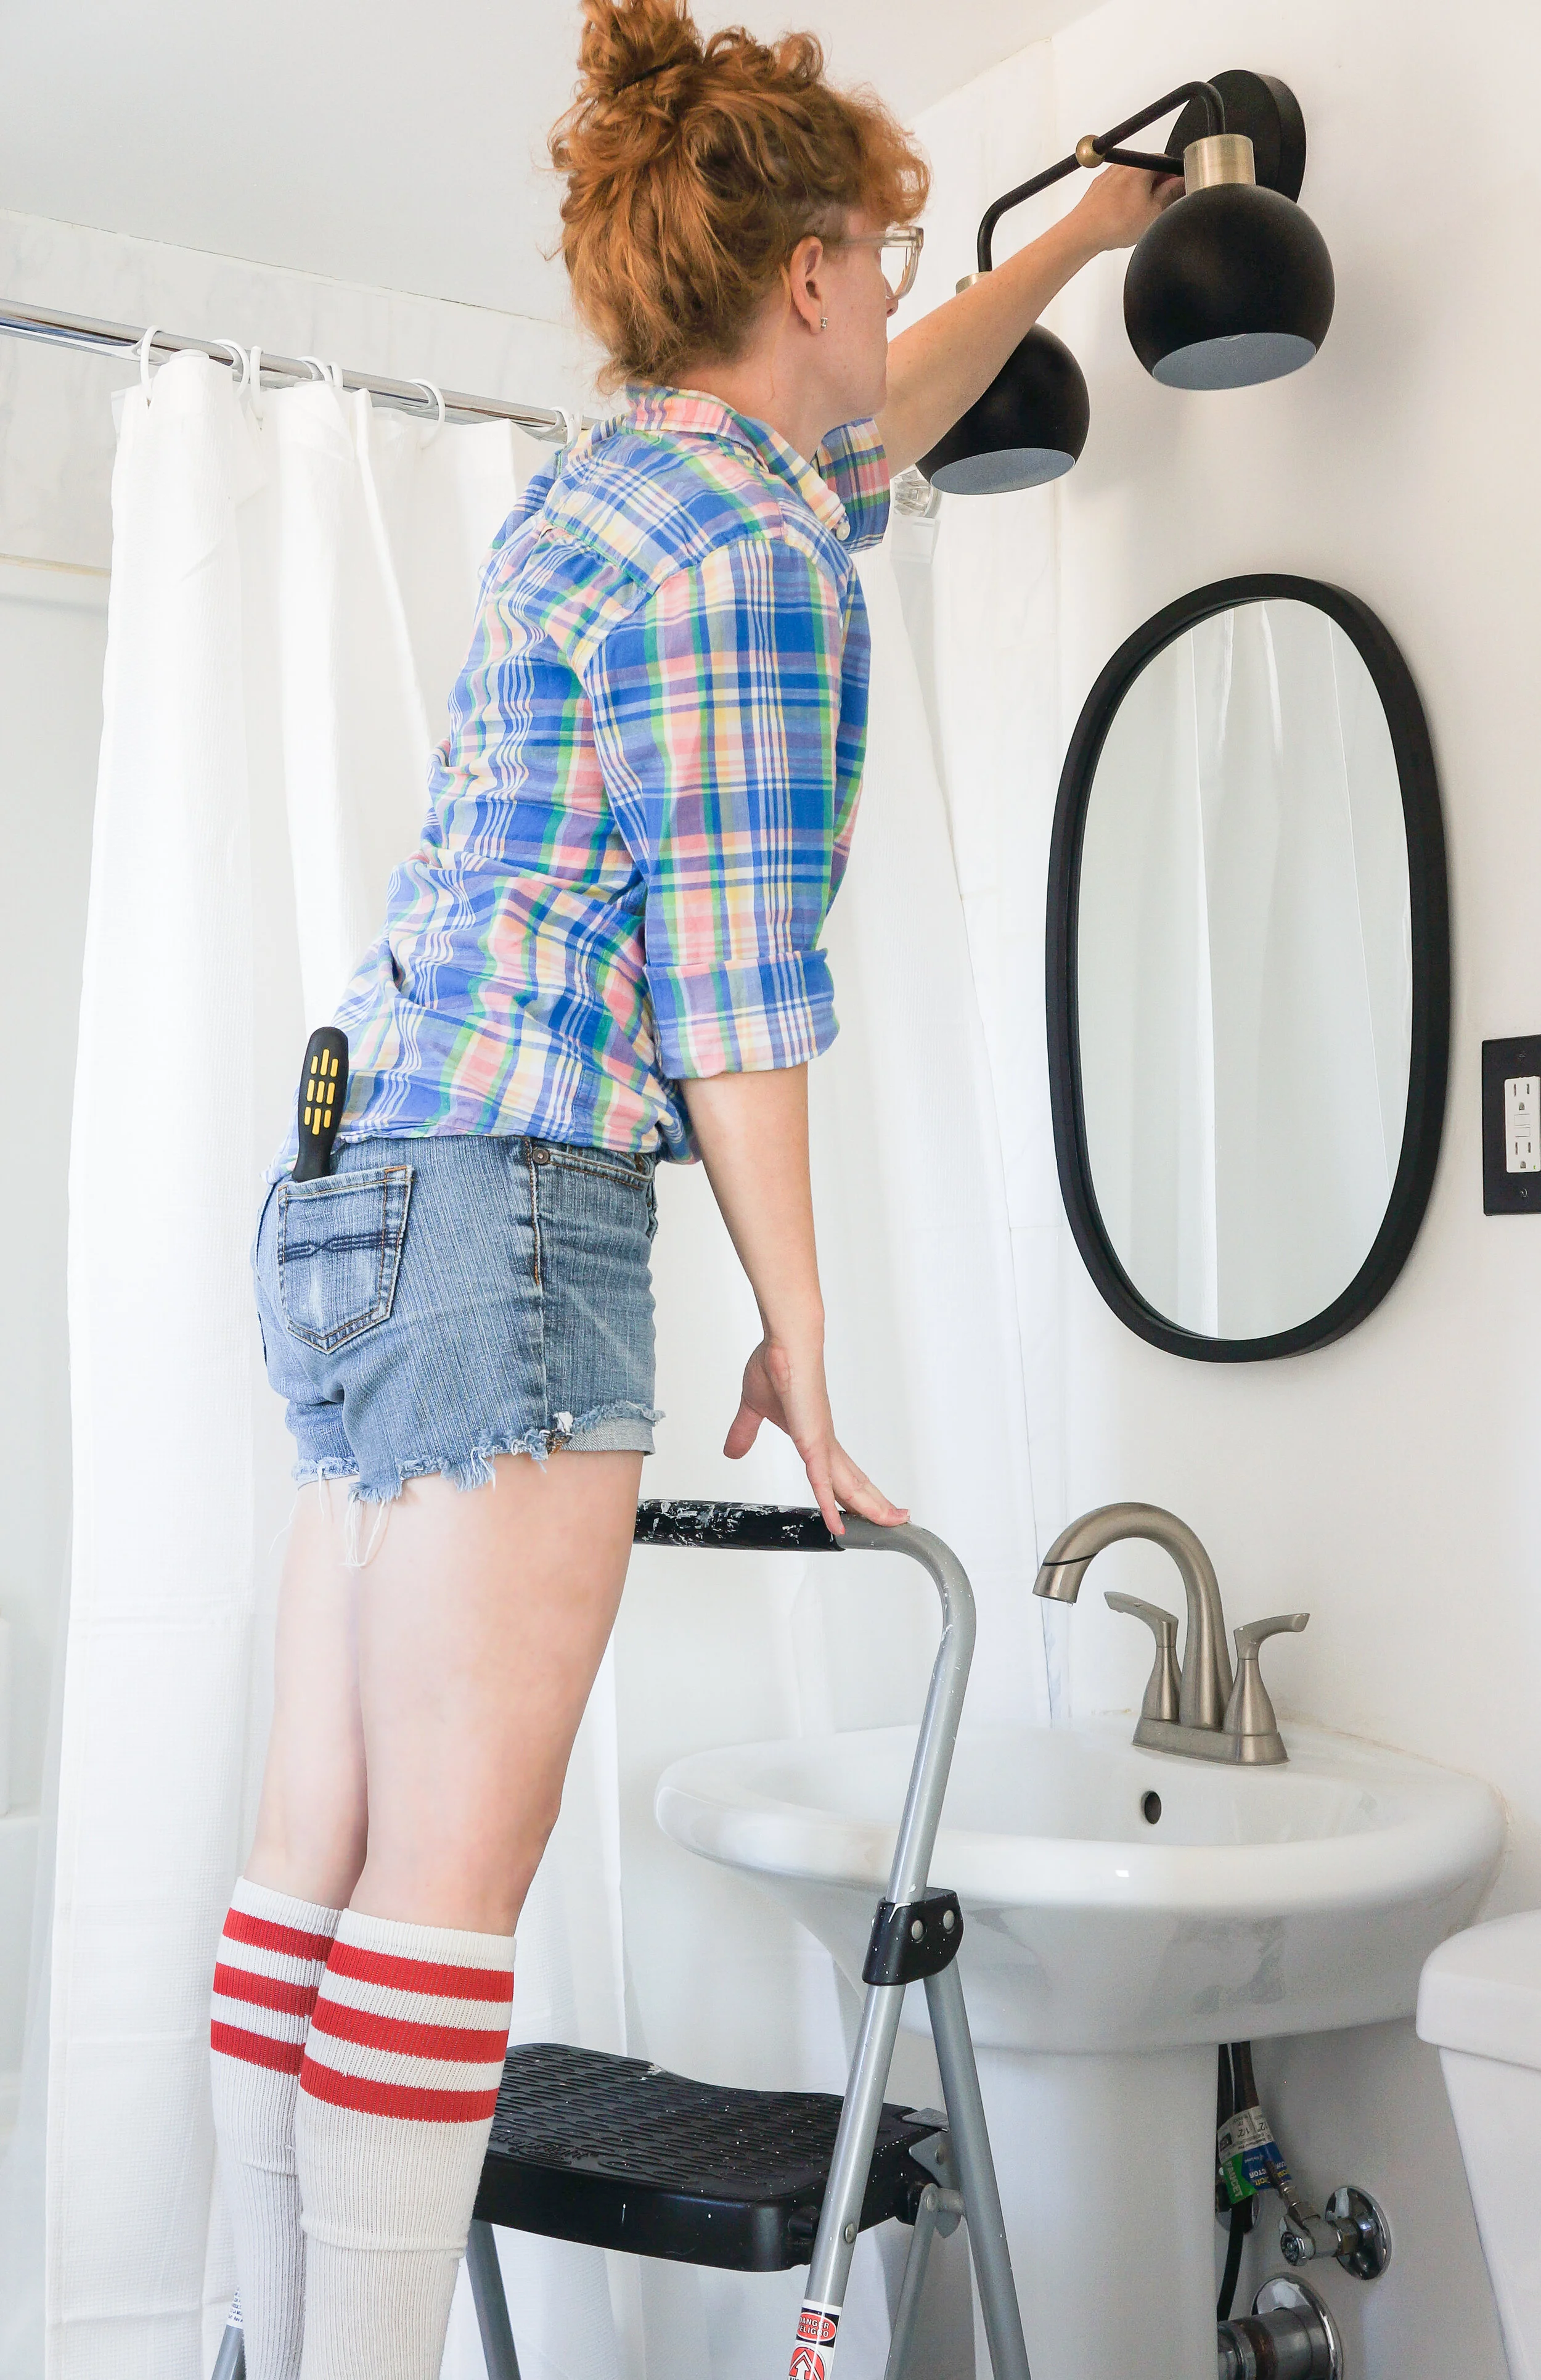
Step 2: Next I unscrewed the current fixture revealing the mounting bracket (which holds the fixture to the wall), and behind that the junction box, which houses three electrical cords. There I found a green wire, or ground wire, a white wire and a black one. Fortunately, for me the existing mounting bracket was identical to the one for my new fixture which meant I could re-use for my new Shades of Light fixture. I simply loosened the screws to allow me easier access to the wires behind it.
Step 3: I then removed the wire nuts from the wires. They look like little plastic caps and they hold the black and white wires from the fixture, to the respective black and wire from the home’s electrical. I untwisted the black wires from one another, and repeated the same step with the white wires. Lastly, I unwound the green, or ground wire from the copper screw and from the ground wire on the fixture. At this point the old fixture was entirely detached. I discarded it.
Step 4: While having Laine be my extra set of hands holding the new fixture, I twisted the black wire from the Bubble Light to the black wire in the wall, then covered it with a wire nut. I twisted it clockwise to make sure the wire nut was on tight. Next, I twisted the white wire from the new fixture to the white wire in the wall, and also covered with a wire nut. Lastly, I wrapped the green ground wire around the copper screw, then twisted to the ground wire of the new fixture, and secured the two with a wire nut.
Step 5: Then I fed the mounting screws on the mounting bracket through the holes in the light fixture, and held it to wall as I screwed the fixture in place by twisting on the cap nuts.
Lekker House JT Bathroom “after”
// Photography by Marni Epstein-Mervis


